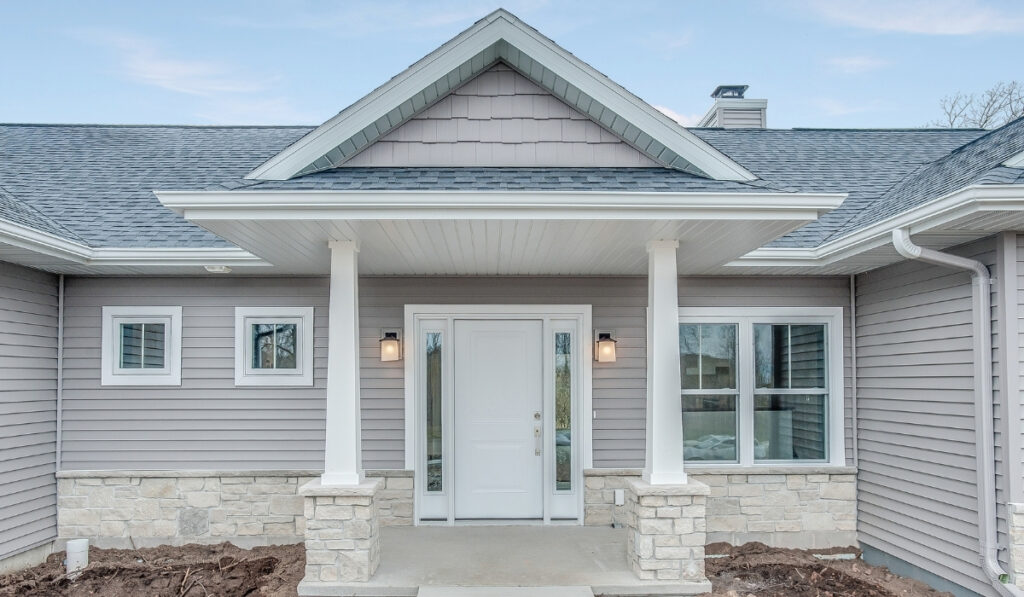
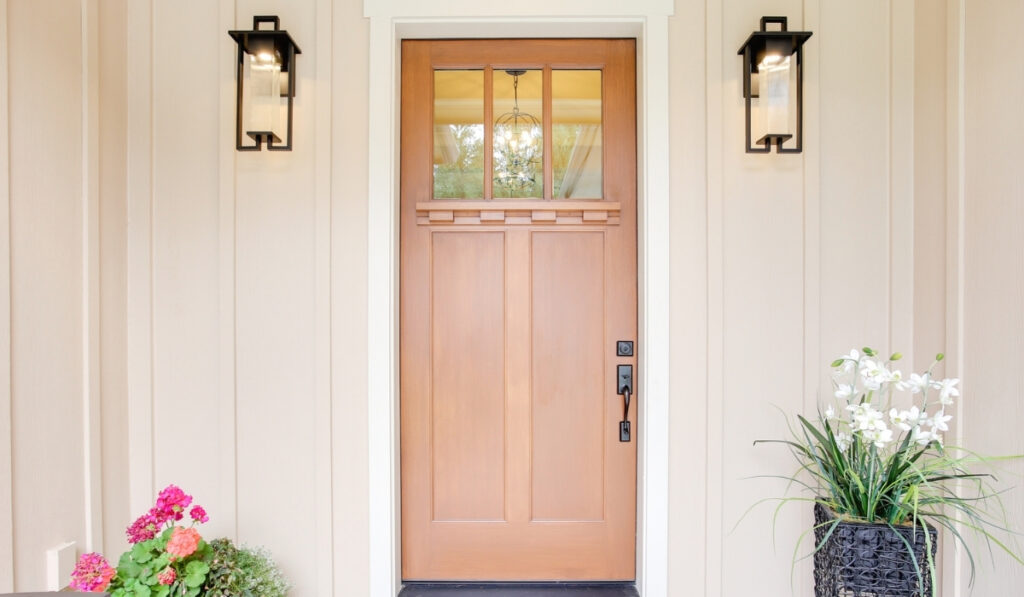
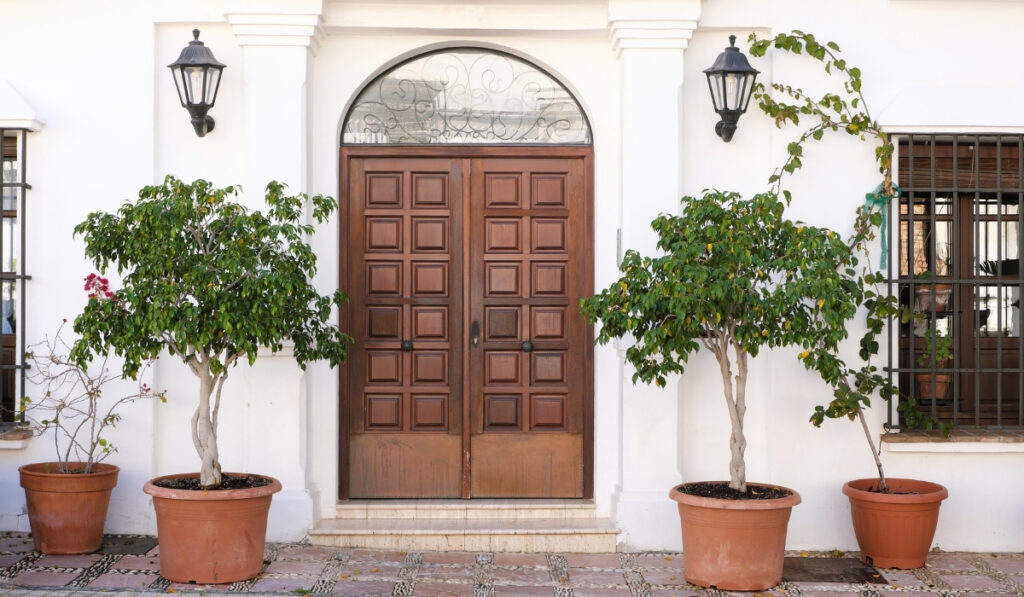
Quick Answer: Building an exterior door frame means measuring the opening, cutting two side jambs and a head jamb, joining them square, setting the assembled frame plumb and level in the rough opening, then insulating and sealing. This guide covers each step, the right materials for Ontario’s environment, and when a replacement unit is the better call. It’s for experienced DIYers replacing a rotted entry door frame or fitting a new entry door in a prepared home entrance — not a low-difficulty project.
Key Takeaways
Exterior door framing has two distinct jobs: framing the rough opening in the wall (king studs, jack studs, header) and building the jamb frame the door hangs in.
Residential door openings in Canada typically use standard heights of 80 or 96 inches.
A 2×6 header supports a standard 3-foot-wide opening in residential construction.
The frame must be square, level, and plumb — errors cause doors to bind, fail to latch, or let in cold air.
Frame material affects durability and maintenance: wood requires upkeep; composite, vinyl, and steel require less.
Exterior door frames must handle thermal expansion without warping in Ontario’s freeze-thaw climate.
Door Frame vs Rough Opening: Which Are You Building?
These are two different jobs.
The rough opening is the framed hole in the wall — king studs, jack studs, a structural header above, and a sill plate below. This is structural work done before any door or frame goes in. King and jack studs work together: the king stud runs full height; the jack stud (also called a trimmer) sits inside it and carries the header load.
The jamb frame (or door frame) is what this guide covers: the three-piece assembly of two side jambs and a head jamb that the door slab hangs in. It sits inside the rough opening.
If you’re framing a new rough opening — cutting into a wall, sizing a new header, or placing studs — see the rough opening sizes guide before starting. A 2×6 header supports a 3-foot-wide door opening; wider openings, or those with transoms or windows, need engineered lumber.
Jamb stock (typically 5/4 × 4½ inches for a standard wall with drywall), head jamb, threshold or sill, exterior-grade screws, low-expansion foam insulation, exterior sealant, shims.
How to Build an Exterior Door Frame
Step 1 – Measure the Opening
Measure the rough opening width at three points and the height on both sides. Use the smallest width and shortest height. Standard door heights in Canada are 80 or 96 inches — determine which the new door slab requires before cutting.
On a replacement job, drill 1-inch holes through the siding at each corner of the opening before cutting. This avoids cutting blind into framing or wiring behind the wall.
Step 2 – Cut the Side Jambs
Cut two side jambs to the door slab height plus 3/16 inch for clearance. Jamb depth must match the total wall thickness — framing, sheathing, and interior drywall combined — so the frame sits flush on both faces of the wall.
Mark hinge locations on the hinge-side jamb before assembling.
Step 3 – Build the Head Jamb
Cut the head jamb to the door width plus 3/16 inch for clearance. For a new rough opening header, cut two pieces of 2×6 to the width of the opening plus 3 inches to bear on the jack studs. Use angle-driven screws or nails to attach the header to the jack studs.
For a jamb-frame replacement, the structural header is already in place. Attach the head jamb to the side jambs with screws driven at an angle into each corner joint.
Step 4 – Check Square, Level, and Plumb
Set the assembled frame in the rough opening before fastening. Check both side jambs with a level — they must be plumb. Check the head jamb across the top — it must be level.
To confirm the frame is square, measure diagonally corner to corner in both directions. Equal diagonal measurements mean the frame is square. If the diagonals differ, adjust the shims under the side jambs until they match, then re-check. A frame that’s off by a quarter inch at the top produces a door that binds at the latch or leaves a visible gap on one side.
Step 5 – Set and Fasten the Frame
Drive screws through the side jambs into the jack studs. Shim any gaps between the jamb and the framing before tightening. Keep screws back from the jamb edge where the door stop will sit. Check plumb and square after each set — fastening can pull the frame out of true.
A reinforced strike plate at the latch location improves security once hung. A multi-point locking system engages the frame at three or more points and improves security and weather stripping compression.
Step 6 – Insulate and Seal
Fill the gap between the frame and the rough opening framing with low-expansion foam. Standard expanding foam can bow the jambs inward — low-expansion is the right product here.
Apply exterior sealant along all edges where the brickmould meets the siding. The threshold must slope slightly outward to direct water away from the frame base. Toronto’s climate makes moisture control at the sill a year-round concern — standing water at the threshold accelerates rot.
Frame Materials for Ontario’s Climate
Wood
Traditional and easy to work with, but wood door frames need regular painting or staining to resist rotting and warping in Ontario’s variable climate. Best suited to sheltered or covered home entries.
Composite
Composite frames resist rot and need little maintenance. They handle Ontario’s freeze-thaw cycles better than wood and are a practical design choice for exposed entries.
Vinyl
Vinyl is moisture-resistant and budget-friendly. Choose it for humid or weather-exposed installations — it won’t rot or corrode.
Steel and Aluminium
Steel frames offer high security and impact resistance. Aluminium provides exceptional structural strength but conducts cold readily — look for frames with a thermal break, which reduces temperature transfer and lowers the risk of condensation in winter. ENERGY STAR certified frames meet Natural Resources Canada’s guidelines for Canadian climate zones and minimise air leakage.
When to Replace the Door and Frame Instead
A frame rotted at the sill, warped beyond what adjustment can fix, or compromised by water reaching the subfloor isn’t worth repairing in place. In those cases, a pre-hung unit — door, frame, and threshold factory-assembled — is the more reliable solution. For price details, see the replacement guide below.
For signs, costs, and options, see Exterior Door Frame Replacement: Signs, Options and Cost. For professional installation of a new exterior door and frame in Brampton, Woodbridge, or anywhere in the GTA, see the Doormatic front door installation service.
Frequently Asked Questions
Does an exterior door need a threshold?
Yes. The threshold — also called the sill — seals the gap between the bottom of the door and the floor. Without it, water, cold air, and insects have a direct path into the entry. The threshold must slope slightly outward to prevent water pooling at the frame base, which is especially important in Ontario’s variable climate where standing water at the sill accelerates rot.
How do I build a door frame with a threshold?
Build and set the jamb frame first, then fit the threshold last. The threshold sits on the sill plate at the bottom of the rough opening and is fastened with screws through its surface. Apply sealant between the threshold and the side jambs on both sides to block moisture entry.
How do I frame an exterior door opening?
Framing the rough opening is structural work, separate from building the jamb frame. It involves placing king studs on each side of the opening, nailing jack studs inside them, and setting a header on top of the jack studs. A 2×6 header supports a standard 3-foot-wide opening. Once the rough opening is framed, the jamb frame drops inside it — that’s what this guide covers.
What screws should I use for an exterior door frame?
Use exterior-grade screws — 3-inch #8 or #10 coated screws work for most jamb-to-framing connections. At the hinge and strike-plate locations, use long screws that reach the structural framing behind the jack studs. Avoid drywall screws, which are brittle and not rated for structural loads.
Book an Exterior Door Installation With Doormatic
Doormatic installs and replaces exterior doors across Brampton, Woodbridge, Vaughan, and the Greater Toronto Area.